Upload Beacons
Note: Available from version 1.2
Important: If you are intending to upload beacons and assign them to assets, the assets must be added to the Asset List first.
To add beacons, select the Beacon Management option on the navigation bar.
The Upload File section of the screen displays below the New Beacons and Registered Beacons tabs. It is only available when the New Beacons tab is selected.
![]()
To enable more beacon records to be displayed, the Upload File section can be minimised by clicking on the up arrowhead in the top right-hand corner of the section. The section can be re-displayed by clicking anywhere in the Upload File section.
Prepare the Upload File
To upload beacons details, the details must be entered in an .xls, .xlsx or csv file and in a specific format.
Use the Download the Template hyperlink and enter the relevant details.
![]()
The upload file requires the following information:
| Column | Description |
|---|---|
| Beacon id | Provided by the manufacturer. Some manufacturers (e.g., Minew) use the MAC address. Often the identifier is printed on the casing of the beacon. |
| Asset id |
The ID of an asset which already exists in the system. For accuracy reasons:
|
| Eddystone Namespace and Eddystone Instance | These fields define one type of Bluetooth Low Energy beacon protocol which was developed by Google. Many beacons will come with these fields configured with default values which can be used. If the default values are changed, best practice is to have all the beacons set to use the same namespace value and each beacon to have a different namespace instance. |
| iBeacon parameters | These fields relate to a protocol developed by Apple. Many beacons will come with these fields configured with default values which may be used. If you change the default values then best practice is to have all beacons set up to use one Proximity UUID and each beacon to use a different pair of major and minor values. The values are considered as a pair, e.g., Major = 1000, Minor = 1 is one value for one beacon and Major = 1000 and Minor = 2 is another value for another beacon. Therefore, you can set one of these to a constant and simply vary the other. |
Important: Make sure you delete or overwrite the prompt text that is in row 2 of the template.
Upload the Beacons' Details
Once the upload file has been completed and saved in an appropriate folder, click on the Select hyperlink.
A standard open file explorer window displays.
Locate and highlight the upload file and click Open.
Alternatively, you can drag the upload file to the Upload File section.
The following message displays requesting confirmation to begin the upload beacons process.
![]()
Click Confirm and the upload process begins. The progress bar shows the percentage complete. Do not close the message until the process has been completed.
When the process has been completed, the Registered Beacons tab is displayed with the new beacons, including the assigned asset details where one has been assigned. A banner displays at the top of the screen confirming the upload has completed.
Error Messages
Below are some examples of the error messages that display if there is one or more issues with the upload file which prevent the upload process from completing.
-
If you have selected a file type other than the accepted types, the following error message displays advising which file types are permitted:
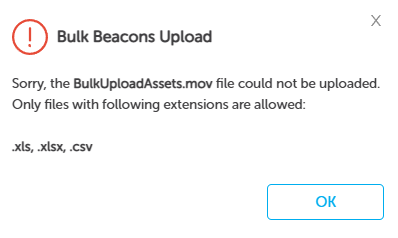
You will need to select a different file or save the previously selected file as an appropriate file type.
-
If there are any issues with the data in the upload file, the following error message displays:
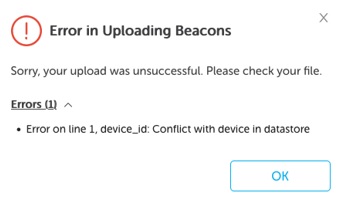
The Error (x) indicates how many errors there are. Click on the down arrowhead to the right to view the details.
You will need to open the upload file and check the details and correct where necessary.
-
If there are any issues accessing the upload file, the following error message displays.

You will need to check your system or internet connection and click Retry.